Personal Website
Your first website from scratch. Created by Hack Club staff.
Personal Website
We recommend going through this workshop in Google Chrome.
Prophet Orpheus, our mascot, is here to guide you through making your own personal website.
It will look something like this:
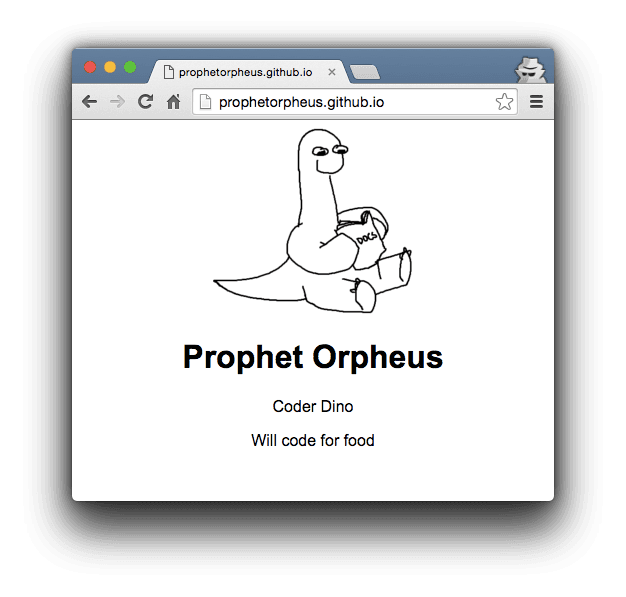
Here’s the live demo and final code (see index.html and styles.css).
This workshop should take around 45 minutes.
Table of contents:
- Part I: Setup
- Part II: The HTML File
- Part III: The CSS File
- Part IV: Publishing
- Part V: Hacking
- Part VI: Sharing with the Community
Part I: Setup
1) Signing Up for GitHub
If you already have a GitHub account, skip to step 3 of Signing Up for GitHub.
GitHub is a website used by millions of programmers to collaborate on code. We’ll be using it to store and manage our code in Hack Club.
- Open https://github.com/join in a new tab and create a new account
- Verify your email by checking the inbox of the email you used
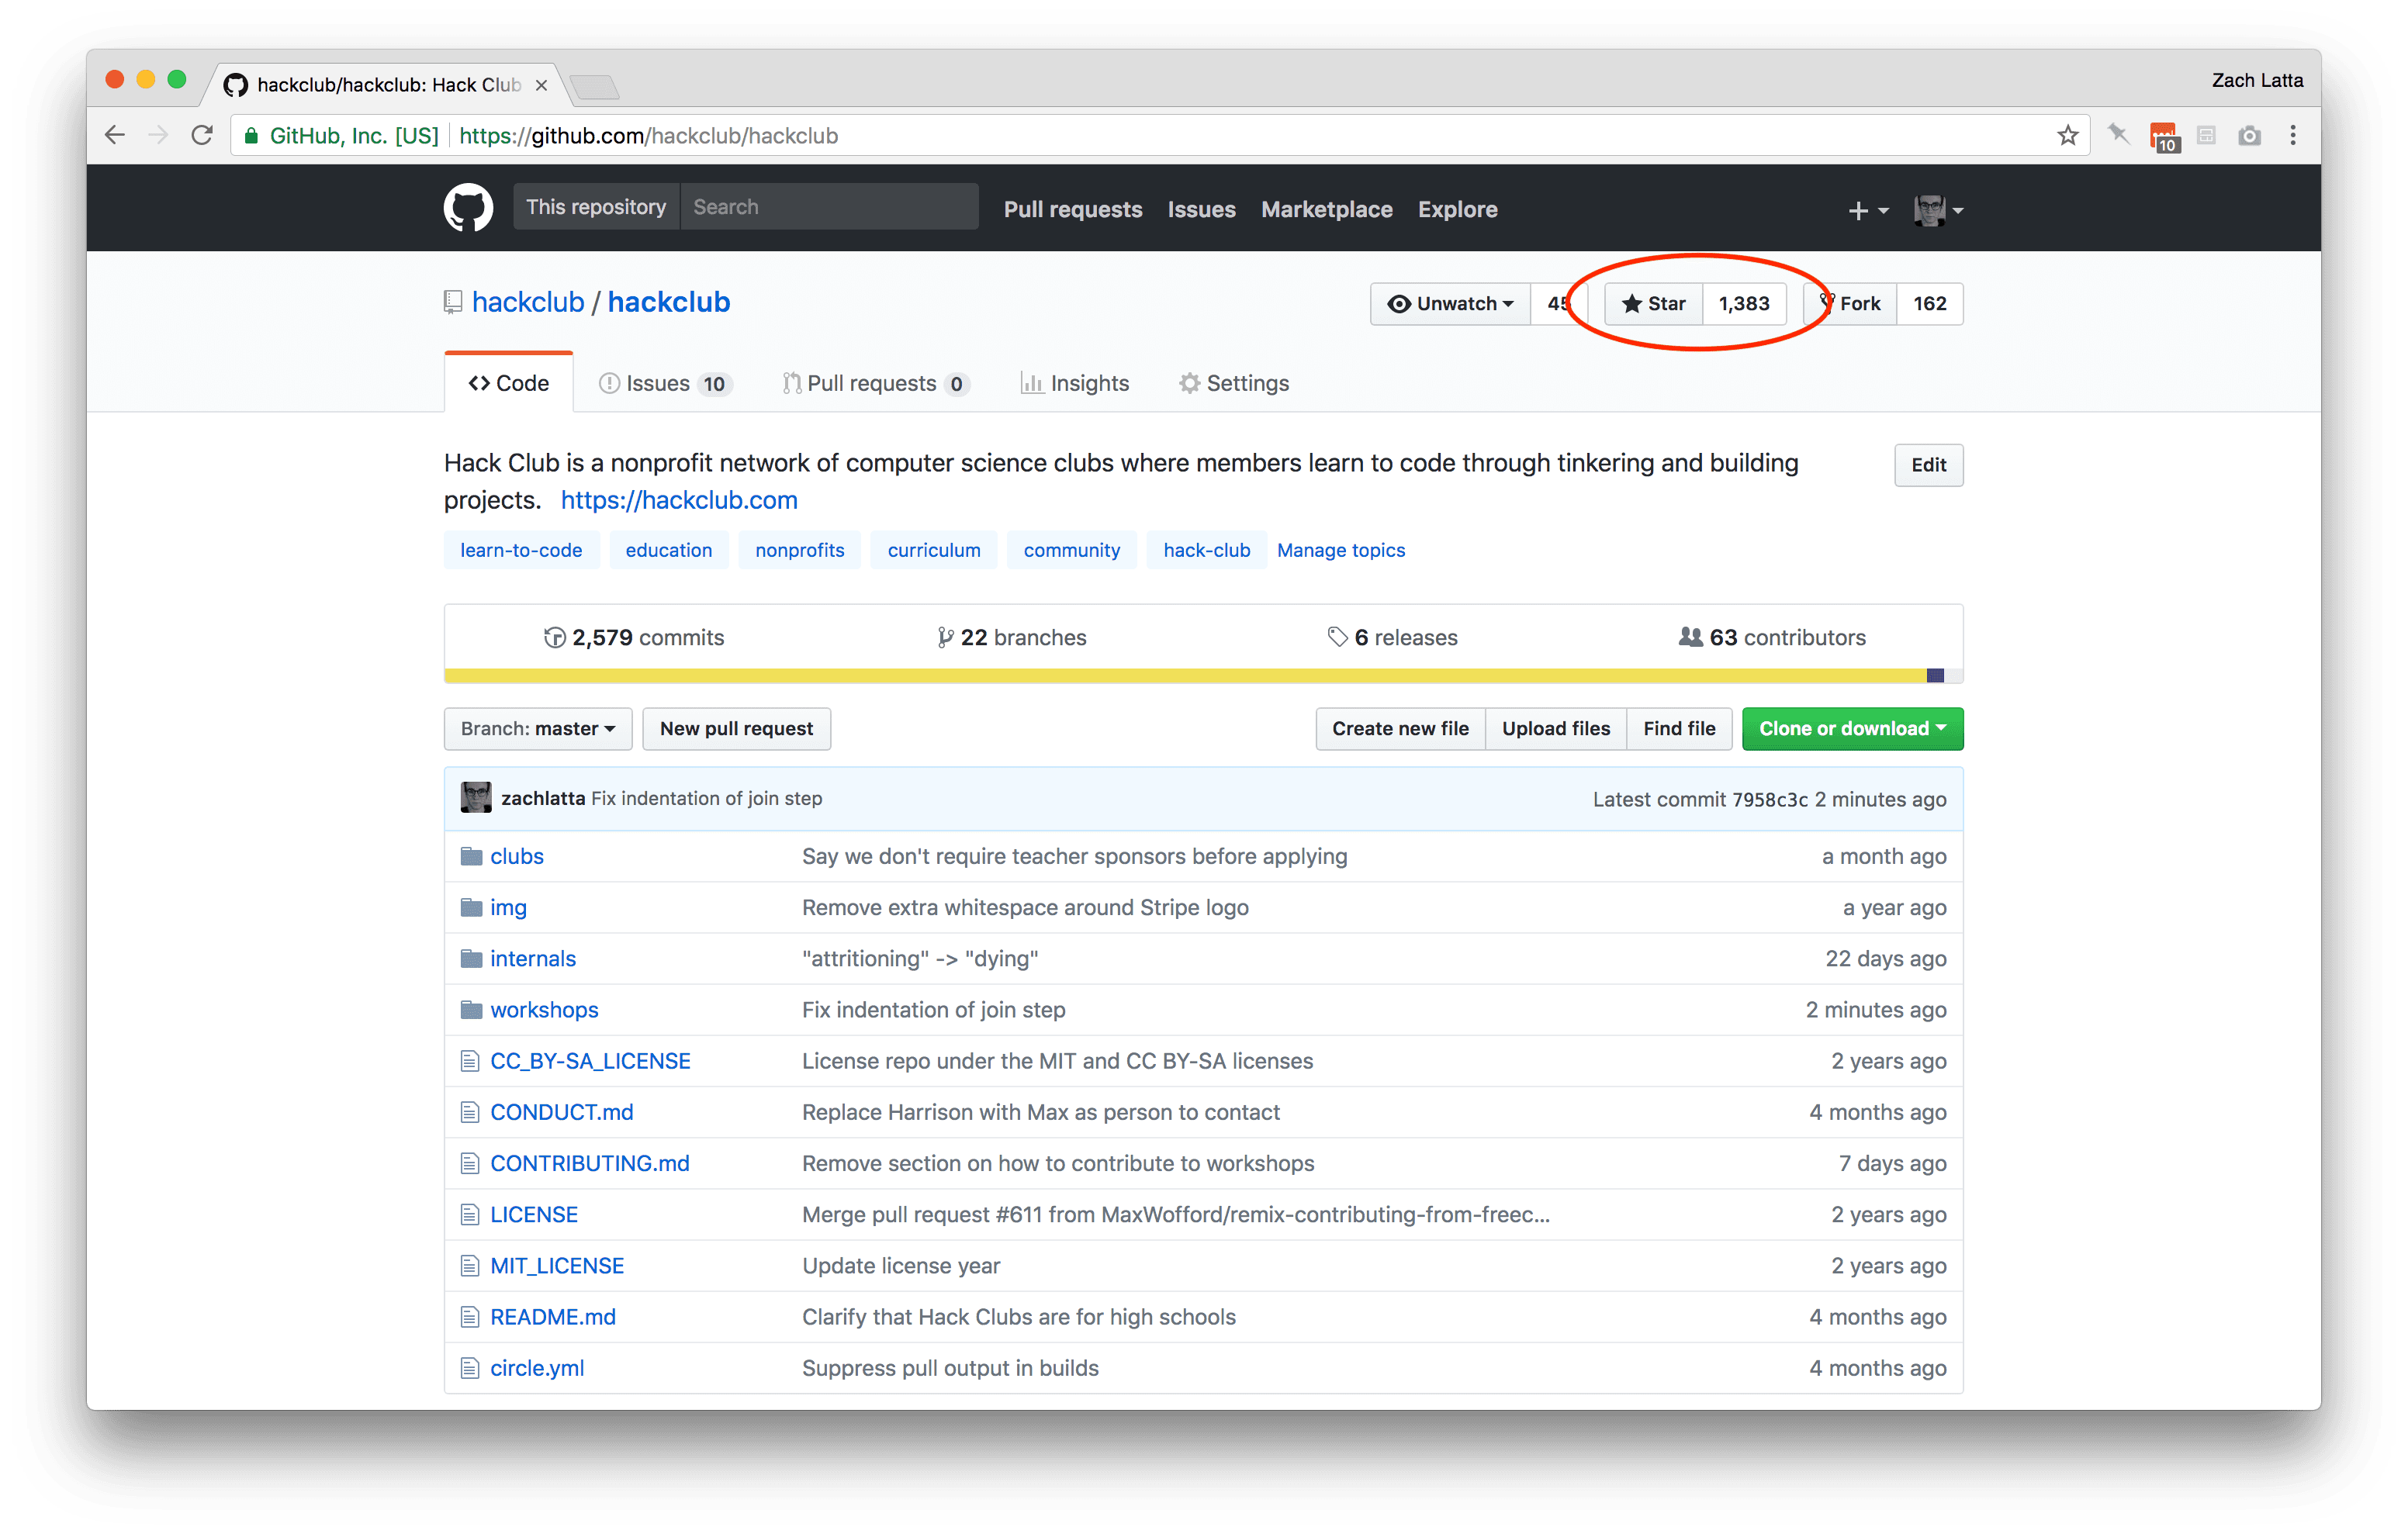
- Open https://github.com/hackclub/hackclub in a new tab and star the project by clicking the button on the top right that looks like this:
Pro tip: if you want a username that’s already taken, you can often get it by contacting GitHub (this is actually how we got the hackclub username on GitHub). Make sure that the username isn’t actively used by another user before reaching out. Click here for more details.
2) Creating Your First GitHub Repository
GitHub allows us to host our website using a service called GitHub Pages. This means that we can put the files of our website on GitHub and GitHub will give us a URL that we can share with the world.
-
Go to https://github.com/new
-
Under “Repository name” write
USERNAME.github.io(replaceUSERNAMEwith your actual username). You have to name your repository this in order for GitHub Pages to work correctly (we’ll talk more about GitHub Pages later)
-
Yay! You’ve created your very first repository! Now, copy the “HTTPS link” at the top. You will need this link for the next step.
3) Signing Up for Cloud9
We’ll be using a service called Cloud9 to write, save, and organize all the code we’ll write in Hack Club.
-
In a new tab, open https://hackclub.com/cloud9_setup and enter your email to get an invite.
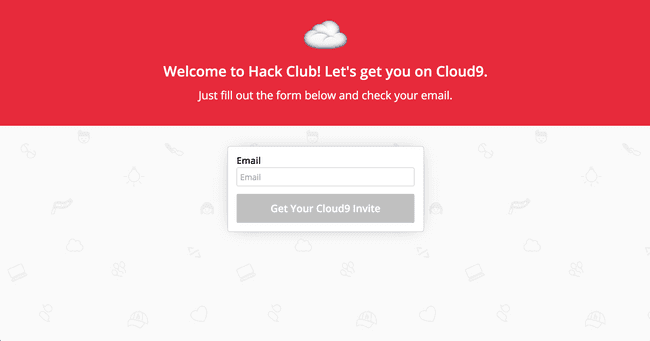
-
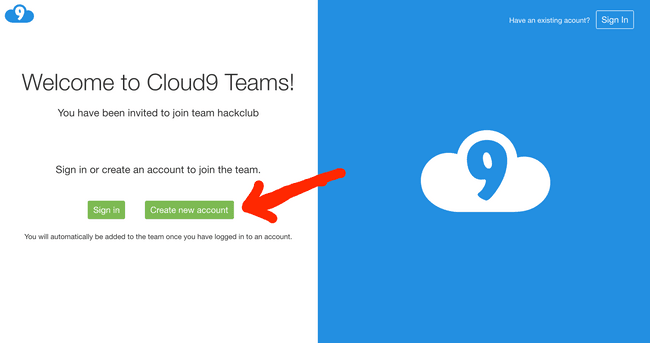
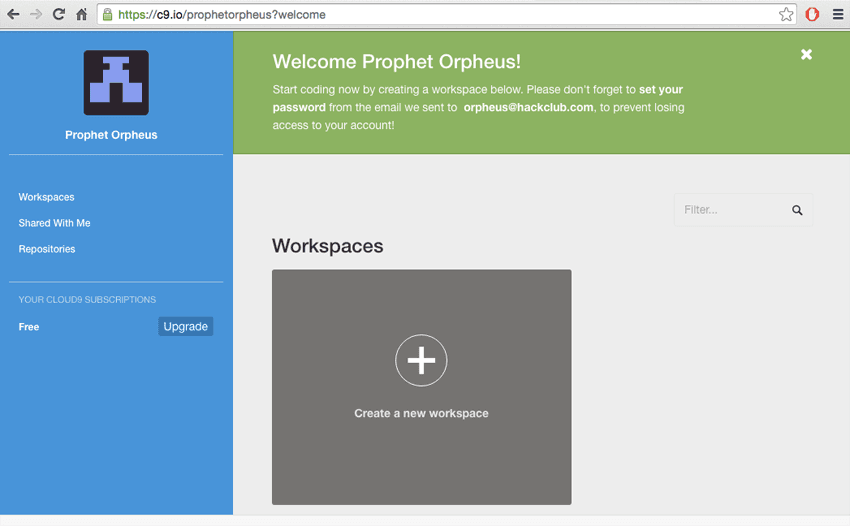
You’ll get an invitation to join Hack Club on Cloud9 in your inbox. Click the link in the invite and you’ll see this screen:
You should end up with a screen that looks like this:

-
Click the gray box that says “Create a new workspace”.
-
Set the “Workspace name” to
projects.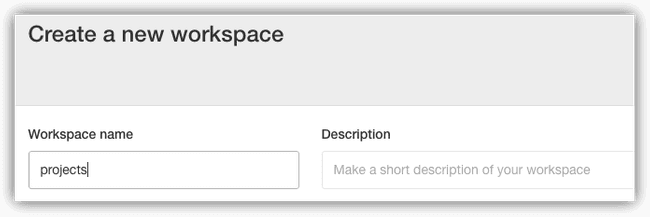
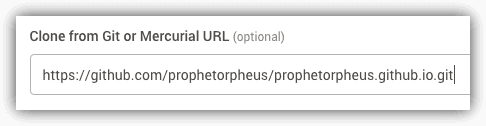
-
Under “Clone from Git or Mercurial URL”, paste the HTTPS Link that you copied from your GitHub repository.
-
Click the green “Create Workspace” button at the bottom.


You should now see a screen looks something like this:
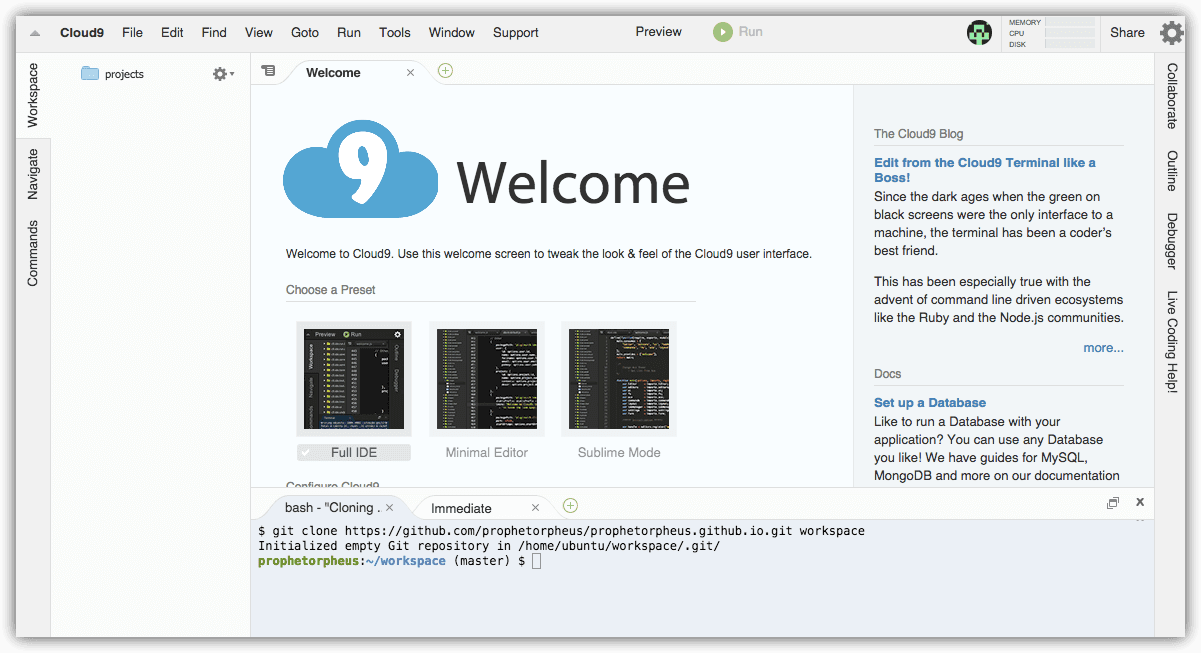
Congratulations, you’ve officially set up all of your coding tools for the semester!
Now we’re ready to start the website!
Part II: The HTML File
1) Creating the HTML file
HTML stands for Hypertext Markup Language. Every website from the New York Times to Twitch uses HTML to display content on the web.
We’ll start by making an index.html file. Right click the projects folder in the left sidebar, select “New File,” and name the file index.html.
Now we’ll add the basic HTML template. Double-click on index.html and type the following. DO NOT COPY AND PASTE.
<!DOCTYPE html>
<html>
    <head>
    </head>
    <body>
    </body>
</html>
This structure is common to all HTML pages. In fact, you can take a look for yourself! Just right click on any web page, including this one, and click “View page source” to see what’s going on behind the scenes. You’ll find each of these elements on every page --- the doctype, and an HTML tag wrapped around a head and body.
Before proceeding, we’ll briefly go over what this template means. HTML works by storing information inside tags. <html></html> is an example of one such tag. Inside <html></html>, we’ve placed two other sets of tags: <head></head> (which wraps around the “head”) and <body></body> (which wraps around the “body”). The body holds everything you would see in the actual tab/window when you open the page, while the head conveys information about the page to the browser. <!DOCTYPE html> tells the browser what version of HTML to expect. Since it is a language, HTML is constantly growing and updating, so there are multiple versions. In our case, we are going to use HTML5, the latest version.
2) Previewing the Page
Let’s check out what our HTML file looks like in Live Preview! First, we’ll save the file by clicking “File” → “Save” (or use the shortcut Ctrl+s / Command+s). You’ll need to do this each time you want to view he preview of your project. Then, you can preview what the website looks like by clicking “Preview” → “Live Preview File”

You can also open the external live preview by clicking the icon that looks like a box with an arrow. This will open live preview in a new tab, at a temporary URL.
As you can see, the page is blank. This is because we haven’t added anything to the body section yet. Let’s add some content!
3) Adding Text to the Body
As mentioned before, all information is wrapped in tags. Tags are predefined in the language; think of them as the words in the language. For text, HTML provides a number of tags to store text. We’ll be using two of the most basic ones: the h1 tag (<h1>) and the paragraph tag (<p>). The h1 tag is the first in a series of heading tags, with h1 being the highest ranking, and h6 being the lowest ranking. Just as with the other tags, you can place information within the these tags by surrounding your content with an opening and closing tag.
Go ahead and add your name in a heading tag, and your description in a paragraph tag, in between the opening (<body>) and closing (</body>) tags. Here is Prophet Orpheus’s name and description:
<!DOCTYPE html>
<html>
  <head>
  </head>
  <body>
    <h1>Prophet Orpheus</h1>
    <p>Coder Dino
    Will code for food</p>
  </body>
</html>
If your description was a few paragraphs, or had line breaks, you may have noticed that one <p></p> doesn’t quite cut it. Adding extra blank lines or spaces between words in HTML does not change the spacing of the content. We can solve this by placing each paragraph in its own <p></p>.
<!DOCTYPE html>
<html>
  <head>
  </head>
  <body>
    <h1>Prophet Orpheus</h1>
    <p>Coder Dino</p>
    <p>Will code for food</p>
  </body>
</html>
Save your index.html and refresh the Live Preview. Yay!
4) Adding Images to the Body
First, find an image you would like to include in your page. You can find something on Google Images, Facebook, or Imgur. We’ll need the source URL of the image, so right click and select “Copy Image Address”.
Images are included in HTML via the image tag, or <img>. The image tag has an attribute called src, which will hold the source URL of the image you want to display. As an example, if I were to add this picture of Prophet Orpheus, I would right click it and get the source URL, which in this case is https://github.com/hackclub/dinosaurs/raw/master/smartdinosaurdocs.png, and put it in an image tag like so:
<img src="https://github.com/hackclub/dinosaurs/raw/master/smart_dinosaur_docs.png">
You may have noticed that the image tag doesn’t have a closing tag like <h1></h1> or <body></body>. That’s because it is a void element, meaning that it doesn’t have any contents.
Go ahead and add this into your index.html now. I put my picture before my heading, and my code looks like this:
<!DOCTYPE html>
<html>
    <head>
    </head>
    <body>
        <img src="https://github.com/hackclub/dinosaurs/raw/master/smart_dinosaur_docs.png">
        <h1>Prophet Orpheus</h1>
        <p>Coder Dino</p>
        <p>Will code for food</p>
    </body>
</html>

Remember, you need to save your work every time you make a change --- otherwise you won’t be able to see it!
Hurray! You’ve created a basic HTML page! Let’s save our progress with git!
We’re going to be using a terminal to do this, but you might know it as that-thing-hackers-use-in-movie.
Using the terminal allows us to do things on computers which you can’t usually do with a standard graphical user interface. We don’t expect you to be a terminal master by the end of this tutorial, but with this initial exposure hopefully you’ll be able to continue learning more about it over time!
In Cloud9, press Alt + t (option + t on Mac) on the keyboard. This is how we open the terminal on Cloud9. In this case, we’re going to save the work we’ve done so far, using git. Type in the following commands:
git add --all(then press enter)git commit -m "Create personal website"(then press enter)
Now, if you type git log, you’ll be able to see your first commit! Think of git as a way to save your project in stages, much like how a game allows you to save different versions and go back.
Though we’ve made a commit and saved our changes, we’re not done. Our webpage is fully functional, but needs a little help in the look-and-feel department. Fret not. CSS will allow you to manipulate the styling of your page in all your needs.
Part III: The CSS File
So what is CSS? CSS, also known as Cascading Style Sheets, is a language used for styling the tags (or “elements”) on a web page.
While HTML oversees the content and the way it’s structured, CSS is how you’ll specify how you’d like your content to look --- with it you can set things like colors, spacing, and more.
1) Creating the CSS File
We’ll now make an styles.css file. Right click the projects folder, select “New File,” and name the file styles.css.
This is called an external style sheet because the CSS file is external to the HTML file (i.e., the stylesheet is not inside the HTML file).
2) Linking the CSS file to the HTML file
Although we’ve created a CSS file, until we explicitly tell the HTML file to use the CSS file, it will not use it. We must explicitly link the CSS file in the HTML. We’ll do this by typing the following into the head of index.html (between <head> and </head>), because the head is where we tell information about the page to the browser.
<link rel="stylesheet" href="styles.css" />
<link /> is the link tag, which describes relationships between the current file (in this case, index.html), and some external file (styles.css). In our example, rel="stylesheet" specifies what this relationship is, i.e., that styles.css is a stylesheet, and href (hypertext reference) specifies where the file can be found (in this case, it’s just the filename styles.css). The link tag, similar to the image tag, is a self-closing tag, once again denoted by the / that precedes the >.
Our HTML file now looks like so:
<!DOCTYPE html>
<html>
    <head>
        <link rel="stylesheet" href="styles.css"/>
    </head>
    <body>
        <img src="https://github.com/hackclub/dinosaurs/raw/master/smart_dinosaur_docs.png">
        <h1>Prophet Orpheus</h1>
        <p>Coder Dino</p>
        <p>Will code for food</p>
    </body>
</html>
Remember to save your index.html.
3) Adding Styles to the Stylesheet
Now that we’ve linked our CSS file to our HTML file, let’s write some CSS to resize the image.
Open up styles.css and type the following:
img {
    width: 200px;
}
A CSS stylesheet contains “rules,” each of which consists of a selector, and attributes and values within brackets, known as a “declaration block”.
In our case, the selector is img. This merely selects all image tags (and thus, all images). The rule then says to set the width (width) of all things selected (in our case, all the images) to 200px. px refers to pixels, which are a unit of measurement on the screen. When this rule is applied, all the images on our page will have a width of 200 pixels.
Next, we’re going to center-align the entire body section.
We’ll add
body {
    text-align: center;
}
As with resizing the image, this rule specifies that every body tag should have a text-align attribute of center. This centers everything on our page because all of the content in our HTML file is written inside the body tag.
Now let’s change the font of our text. We’ll add another attribute, font-family, to the body rule, and set the value to "Arial". Now it will look like this:
body {
    text-align: center;
    font-family: "Arial";
}
Here is the transformation that your stylesheet will have undergone at the end of your endeavors:

You can take this even further by adding a bit of color to the page! The attribute color (spelled without a u) allows you to set the text color, and background-color allows you to set a background color. You can find a list of supported color names over at W3Schools. Keep in mind that it’s a good idea to pick a combination of colors will keep the text readable.
body {
    text-align: center;
    font-family: "Arial";
    background: azure;
    color: purple;
}
Now let’s save and look at our work. Ah, it is truly beautiful to behold. Now let’s commit our changes.
Remember to save both index.html and styles.css! We’ll once again use the terminal in Cloud9 to persist our changes with git.
git add --all(then press enter)git commit -m "Add styling to personal website"(then press enter)

Part IV: Publishing
Right now we can only see our website on our own computer. Let’s get our website online!
- In the Cloud9 terminal, we’ll push our commits to our GitHub repository:
-
git push(then press enter)- Enter your GitHub username (then press enter).
- Enter your GitHub password (then press enter). The characters won’t show up on the screen, but rest assured, they are still being typed.
- Now try to view the website by going to
USERNAME.github.io(replaceUSERNAMEwith your actual GitHub username)
Celebrate!

Yes! Your website is now public on the internet!
Part V: Hacking
In this section, your challenge is to add additional features to your website to make it your own!
Want to use a different font? Google it!
Want to add more pictures? Google it!
Want to add more text? Your entire life story? Background image? Background music? Video? More pages? Google it!
A good way to get ideas for what to add to your website is to look at other people’s websites. Find a website that you like, either from the below list or from somewhere else on the internet, pick one aspect of that website that you would like on your own website, and Google for ways to make it happen!
Websites Made by Other Hack Club Hackers:
- Sophie Huang
- Gabriel Lazrak
- Rebecca Jourard
- John Cena’s (created by Brian Nguyen)
- Jevin Sidhu
- Zero Cool
- Chaoyi Zha
Websites Made by Professionals:
Additional Resources
These are some additional resources that you can use to make your site even better!
- HTML Dog: Very beginner focused. If you’re not sure which one to choose, pick this one.
- Free Code Camp: Interactive and very methodical.
- Treehouse: Their videos are extremely comprehensive and thorough.
Part VI: Sharing with the Community
Now that you have finished building a website, you should share your beautiful creation --- because your site is on the internet, you can share it with anyone who is also online! Remember, it’s as easy as giving them your URL: USERNAME.github.io!
You probably know the best ways to get in touch with your friends and family, but if you want to share your project with the world wide Hack Club community there is no better place to do that than on Slack.
- In a new tab, open and follow these directions to signup for our Slack.
- Join your club’s channel by asking your club leader for the name of the channel, and post the link to your website in your club’s channel.
- Then, post the link to the
#shipitchannel to share it with everyone!
How was this workshop?
(your feedback is anonymous + appreciated 💚)